+86 15093323284 hams@ailunce.com




How to Set Up APRS on the Ailunce HA2
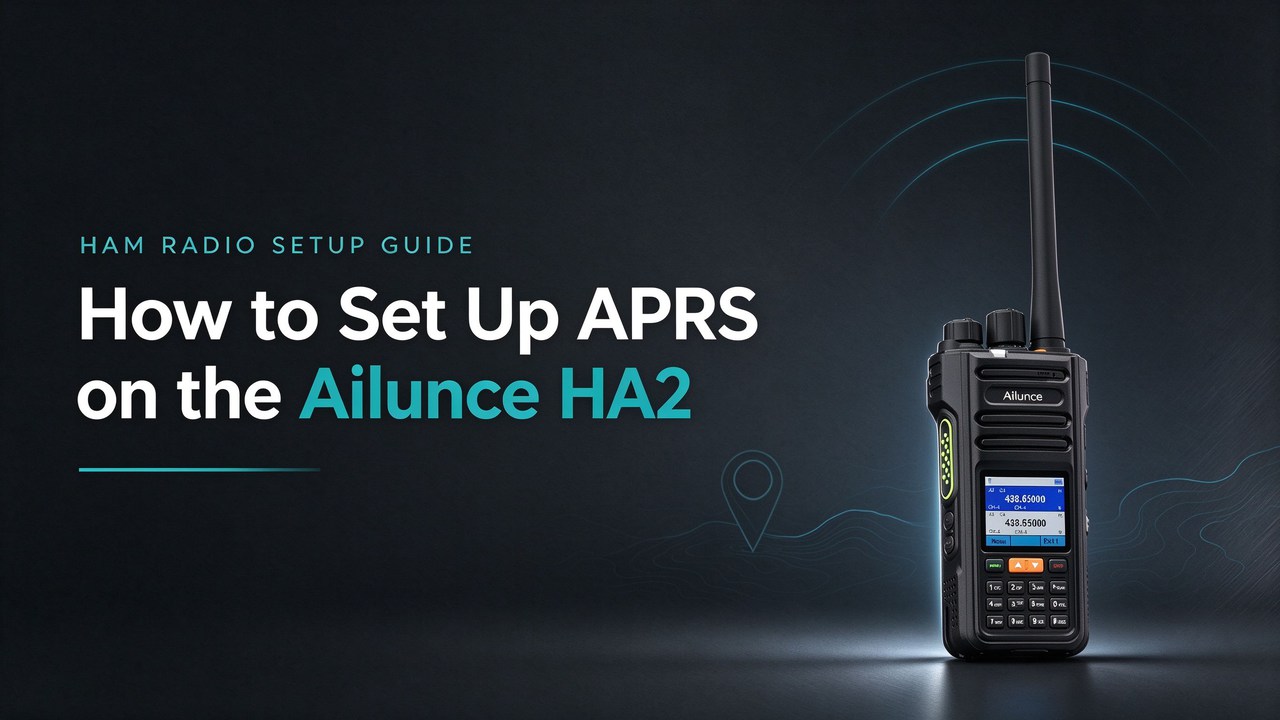
You hold a radio that can show your exact position on a map, even with no phone service and no internet. That is APRS. The Ailunce HA2 has a built-in GPS receiver and an analog APRS modem. Once set up, it broadcasts your location, lets you track other stations, and sends short text messages over radio.
This guide walks you through the whole setup. It follows the official Ailunce and Retevis instructions and reports how real HA2 owners use the radio.
What APRS Actually Does
APRS stands for Automatic Packet Reporting System. The data can be your position, a weather reading, or a text message.
Think of it as a status update that travels by radio instead of the internet. Other hams receive it. Special stations called iGates pass it to the global APRS network, and it appears on the map at aprs.fi.
You need a ham license to transmit APRS. Receiving is open to everyone.
How Your Position Reaches the Map
Here is the path a position packet takes.
First, the HA2 uses its GPS to find your coordinates. Then it transmits a packet called a beacon. A digipeater (often shortened to "digi") hears the packet and retransmits it so it travels farther. An iGate hears the retransmitted packet and uploads it to the APRS internet servers. A few seconds later, your icon appears on aprs.fi.
Two terms matter here. A digi works entirely over radio and needs no internet. An iGate is the bridge between radio and the internet. If no digi or iGate covers your area, your beacon still goes out over the air, but it will not reach the online map.
Before you start, open aprs.fi on any browser and look at your area. If you see digipeaters and iGates nearby, you have coverage.
Three Settings You Must Get Right
Three values appear in every APRS setup. Get these right and the rest is straightforward.
Frequency. APRS runs on one shared 2-meter frequency in each region. Use the right one for where you are:
· United States, Canada, Mexico: 144.390 MHz
· Europe and Africa: 144.800 MHz
· Australia and New Zealand: 145.175 MHz
· Japan and China: 144.640 MHz
· Brazil: 145.575 MHz
If your country is not listed, check with your local radio club.
SSID. This is a number added after your call sign that shows what kind of device you are. For a handheld radio like the HA2, use -7. Your full identity looks like this: your call sign, then -7.
Path. The path tells digipeaters how many times to forward your packet. The standard setting is WIDE1-1,WIDE2-1 in North America and WIDE1-1,WIDE2-2 in Europe. This limits forwarding to two hops, which keeps the network from being overloaded. If you are unsure, WIDE1-1,WIDE2-1 works in most places.
Method One: Standalone APRS (No Phone Needed)
The HA2 can run APRS on its own. You do not need a phone app to send beacons. This is the most reliable method for the field.
Step 1: Turn on the GPS. Press MENU and open the GNSS directory. Set GNSS power to ON. Go back to the home screen and step outside or move to a window with a clear view of the sky. Wait until the screen shows your coordinates. This can take a minute the first time.
Step 2: Set the APRS frequency. Set your active band to the APRS frequency for your region, using the values above.
Step 3: Enter your call sign. Press MENU and open APRS Setting, then Ana APRS Set. Open My Callsign and type your call sign with -7 at the end. Save it.
Step 4: Set the path. In the same menu, open DIGIPATH and enter WIDE1-1,WIDE2-1 (or the path used in your region).
Note: Other path settings can be customized in CPS according to your needs.
Step 5: Choose how often to beacon. (HA2 supports adjustable beacon intervals from 30 seconds to 60 minutes. Choose an interval based on your needs.) Open Beacon Interval and pick a time. Outdoors, one beacon every 5 to 10 minutes is normal. Do not beacon faster than that. Frequent beacons crowd the shared frequency for everyone else.
Step 6: Read received beacons. The radio decodes packets automatically when the channel is clear. To view beacons received from other stations, press MENU, open APRS, then APRS List. You can browse call signs, coordinates, and comments.
Method Two: Add a Phone for a Live Map
A phone gives you a moving map and an easier way to read messages. The HA2 connects over Bluetooth and acts as a radio modem, while the app handles the display.
Set up the radio first:
1. Tune to your regional APRS frequency.
2. Turn off CTCSS tones and DCS on that channel. A sub-tone blocks APRS packets and stops them from decoding.
3. Lower the squelch slightly so weak packets still come through.
4. Press MENU, open BT Power, and set it to On.
5. Open BT Mode. For an Android phone, choose KISS TNC SPP. For an iPhone, choose KISS TNC BLE.
6. On your phone, turn on Bluetooth and pair with the HA2.
Then configure your app.
Android with APRSDroid. Open APRSDroid and go to Settings. Enter your call sign and set SSID to -7. (Note: -7 is used as an example. Choose the SSID that matches your setup.) Pick an icon for how you are traveling, such as hiking or vehicle. Set the beacon interval to 5 to 10 minutes outdoors or 3 to 5 minutes in a vehicle. Under Connection Settings, set the protocol to TNC (KISS), the type to Bluetooth SPP, and select the HA2. Set the digi path to WIDE1-1,WIDE2-1. Return to the main screen and tap Start Tracking. The words "Bluetooth OK" mean it is working.
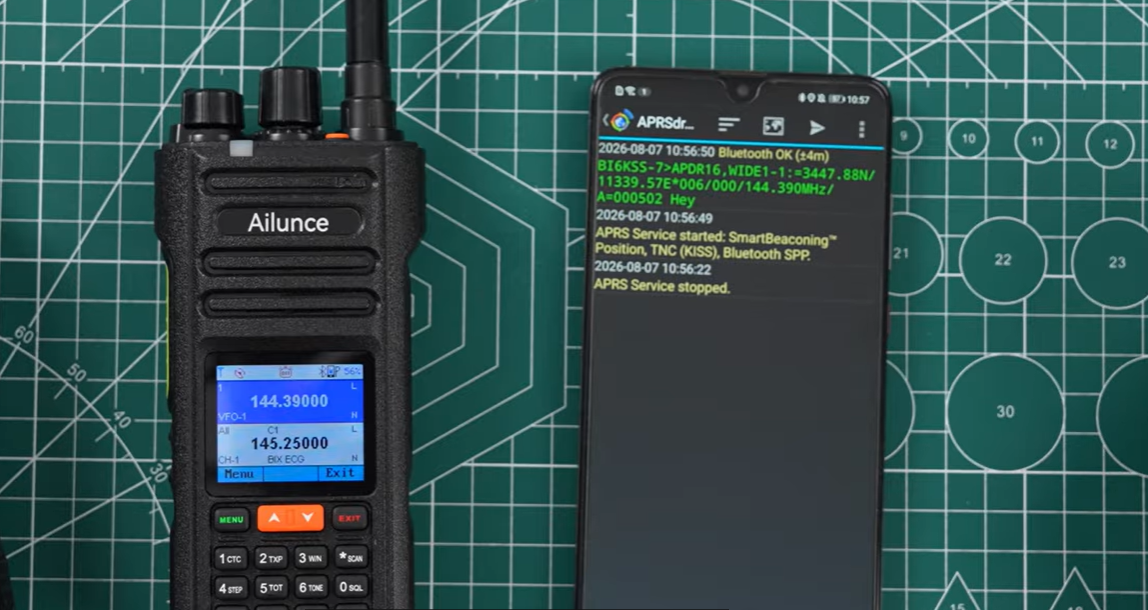
For detailed instructions, watch the video: APRSDroid + KISS TNC Setup Guide
iPhone with aprs.fi. Open the aprs.fi app and go to Beacon settings. Enter your call sign, set SSID to -7, and choose a station symbol. Set the packet path to the regional value from earlier (WIDE1-1,WIDE2-1 in North America); the app may show its own default path, which you can change. Then open More, then TNC and DSP mode, and select the HA2 from the discovered BLE TNCs. The status should read Connected.
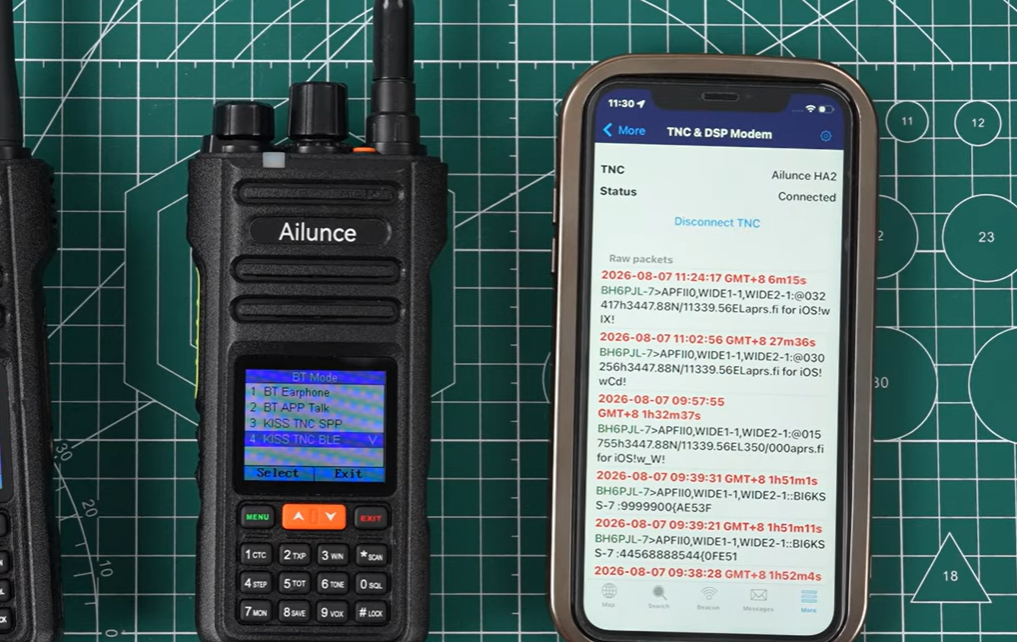
For detailed instructions, watch the video: APRS.fi Setup Guide
Send Your First Beacon and Check the Map
Now confirm everything works.
Send one position packet manually. In standalone mode, use the beacon send option in the APRS menu. In an app, tap Send Position. The radio's transmit light should come on.
Open aprs.fi in a browser or the app and search for your call sign, including -7. If your icon appears on the map at your location, the full path works.
Give it a few minutes. The packet has to travel through a digi and an iGate before it shows online.
If you do not appear, check these things in order. Confirm the GPS shows real coordinates and you are not indoors under a metal roof. Confirm the frequency matches your region. Confirm sub-tones are off and squelch is low. Finally, confirm a digi or iGate actually covers your location. This last point is the most common cause. You can transmit perfectly and still miss the map if no gateway hears you.
Send Text Messages Over APRS
APRS also carries short text messages between stations with no phone network involved, and the HA2 supports peer-to-peer messaging, quick messages, and APRS-to-SMS and email gateways. For the full setup steps, see our guide: How to Use the Ailunce HA2 APRS Message Function.
What You Can Do With APRS Now
Once your station works, try these common uses.
Track a hike or a summit. Carry the HA2 and beacon your position. Family or club members can follow you live on aprs.fi. This is popular for SOTA, or Summits on the Air.
Run a convoy. Each vehicle beacons, and everyone can see the group's positions. Quick messages like "Traffic jam ahead" keep the group coordinated without voice calls.
Support a race or public event. Many clubs staff marathons and bike rides. APRS shows where volunteers and vehicles are along the route.
Report the weather. A ham weather station can send temperature, wind, pressure, and rainfall over APRS. These reports feed the Citizen Weather Observer Program and reach weather services.
Track a high-altitude balloon. Balloon payloads carry APRS transmitters so clubs can follow the flight. Operators often switch to direction finding to locate the final landing spot.
Help in an emergency. APRS shows where deployed operators and vehicles are. Stations can also place temporary objects on the map, such as a medical tent, a water point, or a blocked road.
Common Problems, Quick Fixes
If you cannot decode any packets, check for a sub-tone on the channel and lower your squelch. Both are common blockers.
If the GPS never locks, move outside with open sky. Buildings, tree cover, and metal roofs block satellite signals.
If beacons go out but never reach aprs.fi, you are likely outside digi and iGate coverage. Check the map before your trip and note where coverage ends.
If a message stays on "no ack," the other station is probably off, out of range, or outside a two-way iGate. APRS messages are not guaranteed to deliver, just like voice calls do not always connect.
Start With One Beacon
You do not need to learn every APRS feature today. Start by getting GPS lock, setting your call sign and frequency, and sending one beacon until you see yourself on aprs.fi. That single success proves the whole path. After that, add messaging and try tracking on your next trip.