+86 15093323284 hams@ailunce.com




RETEVIS Ailunce Firmware Radio Update Errors: (FAQ) Causes & Fixes
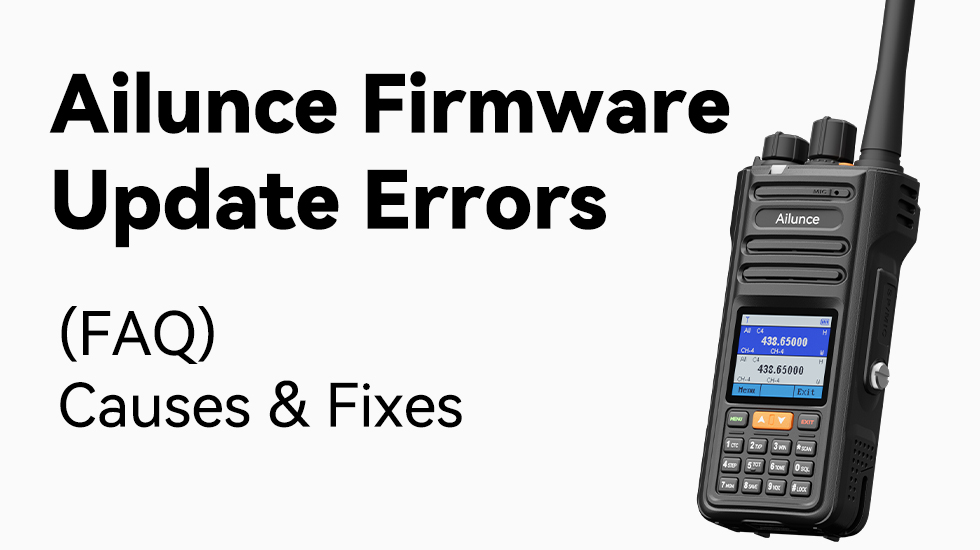
Firmware updates fix bugs and add features. They also scare a lot of new hams. The fear comes from one word: bricking.
Most update failures happen for three reasons: wrong driver, wrong firmware file, or wrong connection order. None of these kill your radio. You can almost always start over.
Before You Start
Check these five things first. Skipping any one causes most failures.
- Get the right firmware file.HD2 firmware has V2 and V3 versions, and each needs its own matching software and driver. Using the wrong combination causes the update to fail. HD1 also has different firmware for early and later hardware revisions. Go to Menu → Radio Information and confirm your model and version before downloading.
- Download only from ailunce.com.The official download may trigger an antivirus warning. This is a digital signing issue, not a virus. Ailunce explains this on their support page.If Windows Security quarantines the file, you can restore it:
On your Windows device, open Windows Security.
Select Virus & threat protection and then, under Current threats, select Protection history.
If you have a list of items, you can filter on Quarantined Items.
Select an item you want to keep, and choose an action, such as Restore.
- Install to an English-only folder.C:\Ailunce\HD1 Paths with non-English characters cause garbled text and crashes on English Windows.
- Charge the radio fully.Make sure the radio has enough battery. A low battery can cause the update to fail halfway. Charge the radio fully before you start.
Install the Driver First
Install the driver before you plug in the cable.
Download the correct driver from the Retevis or Ailunce website support page. Install it before you plug in the cable.
Right-click and run as administrator. Windows 11 may block it for an unsigned driver. Restart into Advanced Startup → Troubleshoot → Advanced options → Startup Settings → Disable driver signature enforcement. Then install.
After installing, plug in the cable. Open Device Manager → Ports (COM & LPT). You should see your adapter with a COM port number. If you do not, try a USB 2.0 port on the back of a desktop PC. Front ports and USB hubs cause detection failures. You can also unplug the cable, open Device Manager → View → Show hidden devices, uninstall grayed-out entries, then plug the cable back in.
Flash the Firmware
The flash process is the same for all Ailunce ham radios. Only the DFU entry method changes.
Enter DFU mode in this order:
- Make sure the radio is successfully connected to the CPS.
- Click Opreation-Firmware-FirmwareUpgrade
- Select the file to be used for the upgrade.
- Press and hold both the PTT and PF1 buttons at the same time, and turn on the radio to enter firmware update mode.
For detailed instrctions, please click on this blog post to learn more: https://www.ailunce.com/blog/how-to-update-firmware-on-ailunceha1uv
This order matters. Plugging USB first then entering DFU causes the "Please check connection" error on HD1.
|
Model |
Buttons |
|
HD1 / HD2 |
PTT + SK1 (first side key) |
|
HA1G / HA1UV / HA2 |
PTT + SK1 |
|
HA2 Bluetooth Firmware |
Bluetooth OTA via RETEVIS app — no cable |
Then:
- Open the firmware update tool.
- Select your COM port.
- Click Connect.
- Click Update. Skip Get Version if it errors — it only reads the current version and does not affect the flash.
- Wait for the progress bar to reach 100%. The radio restarts on its own.
- Go to Menu → Radio Information and confirm the new version number.
Fix Common Errors
"Please Check Connection"
This is the most common HD1 error. It almost always means the radio is not in DFU mode or you plugged USB in the wrong order. Power off, disconnect everything, then follow the four-step order above. Do not click Get Version first.
Antivirus deleted the firmware tool
Restore from quarantine. Add the Ailunce folder to exclusions. The tool is safe.
Garbled text or software will not open
Uninstall and reinstall to an English-only path. If that does not work, go to Control Panel → Region → Administrative → Change system locale → enable "Use Unicode UTF-8 for worldwide language support." Reboot.
Progress bar stops moving
Wait a few minutes. Do not unplug. If it never moves, close the tool, power-cycle the radio, and try again. Check that the cable is firmly connected at both ends.
No COM port in Device Manager
Try the rear USB 2.0 port on a desktop. Uninstall hidden devices and reinstall the driver. If the radio's data port is damaged, test with a different cable to rule out a hardware fault.
If the Radio Will Not Turn On
Try this:
- Enter DFU mode again. If the red LED lights up, you can re-run the flash.
- Double-check you downloaded the right firmware version. HD2 V2 and V3 firmware are not interchangeable.
- Try a different computer and a different USB port. Many failed updates succeed on a rear-panel USB 2.0 port.
- Contact Ailunce support with your order number and the firmware version you tried. They can send the correct file for your hardware revision.
Mac Users
Options:
- Use CHIRP for programming (not firmware flashing) on supported models.
- Some Ailunce models have separate Mac firmware upgrade tools. Check the support page for your specific radio.
- HA2 users must update the Bluetooth firmware via the OTA app, available from the Ailunce resource page. CPS does not support Bluetooth firmware updates.
Note: As of August 2026, the current software version does not support updating both features simultaneously. We are continuing development and appreciate your patience.
Final Check
- Correct firmware for my model and version
- Driver installed, COM port visible
- Radio charged or on charger
- English-only install path
- Antivirus exclusion set
- USB to PC → Cable to radio → DFU mode
- Cable firmly pressed into the radio connector
Follow these steps in order and the update takes just a few minutes.