+86 15093323284 hams@ailunce.com




How to Connect an HD2 V3 to DMR With BlueDV and No Hotspot
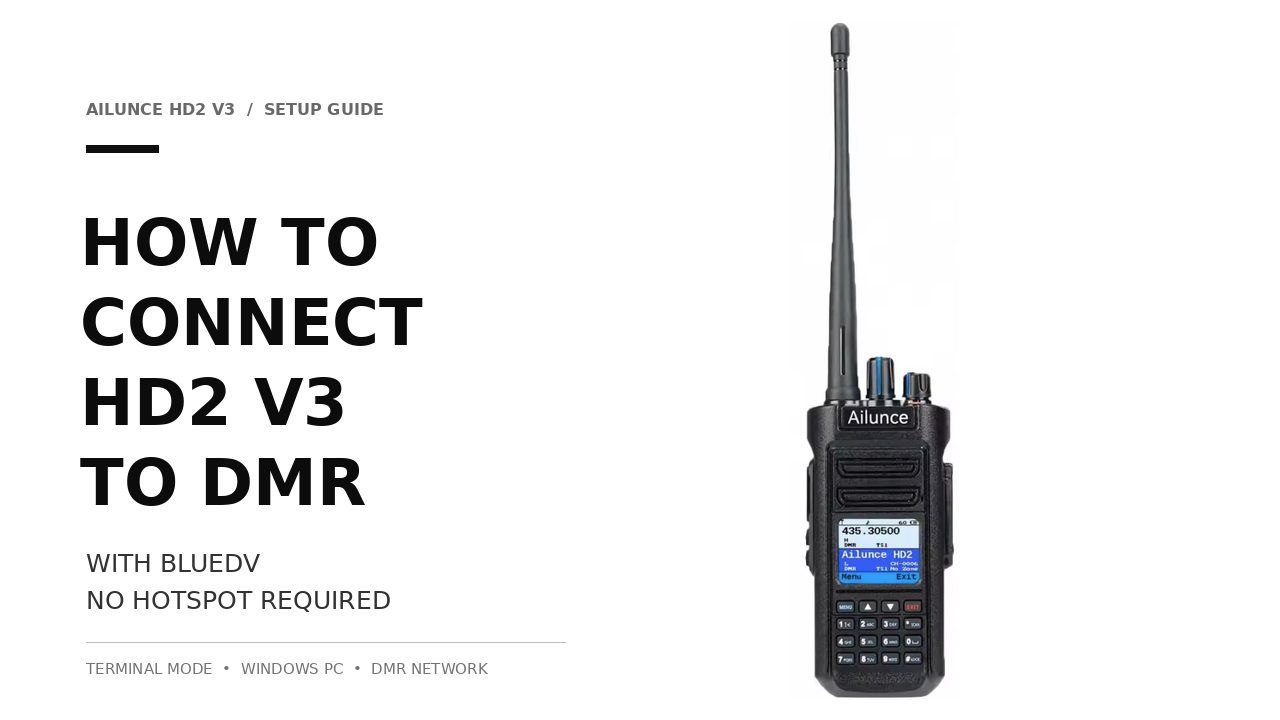
To talk on a DMR network at home, you usually need a hotspot. A small MMDVM box sits on the desk and links your radio to the internet. It works, but it costs money and adds one more device.
If you own an Ailunce HD2 with V3 firmware, you can skip that box. The HD2 V3 adds Terminal Mode, allowing you to connect the radio directly to a Windows computer and run BlueDV, a free application developed by David PA7LIM. This lets your computer take over the hotspot's role.
Special thanks to David PA7LIM for creating and generously sharing BlueDV with the amateur radio community.
This guide covers the setup. It follows the official Ailunce video, and every screen here matches firmware V3.1.9.
Two Modes, and Which One We Use
Two new modes show up in the V3 menu. They do different things.
Terminal Mode links the HD2 to a Windows PC over programming cable. BlueDV then connects you to the DMR network. This is the mode we use here.
Hotspot Mode lets the HD2 act like an MMDVM hotspot for another system. We set it aside for now.
Step 1: Prepare the Gear and Install the Software
You need four things:
- An Ailunce HD2 V3, running the latest firmware (V3.1.9 in the video).
- BlueDV for Windows, free from the PA7LIM site.
- The HD2 programming cable.
- The USB driver for that cable.
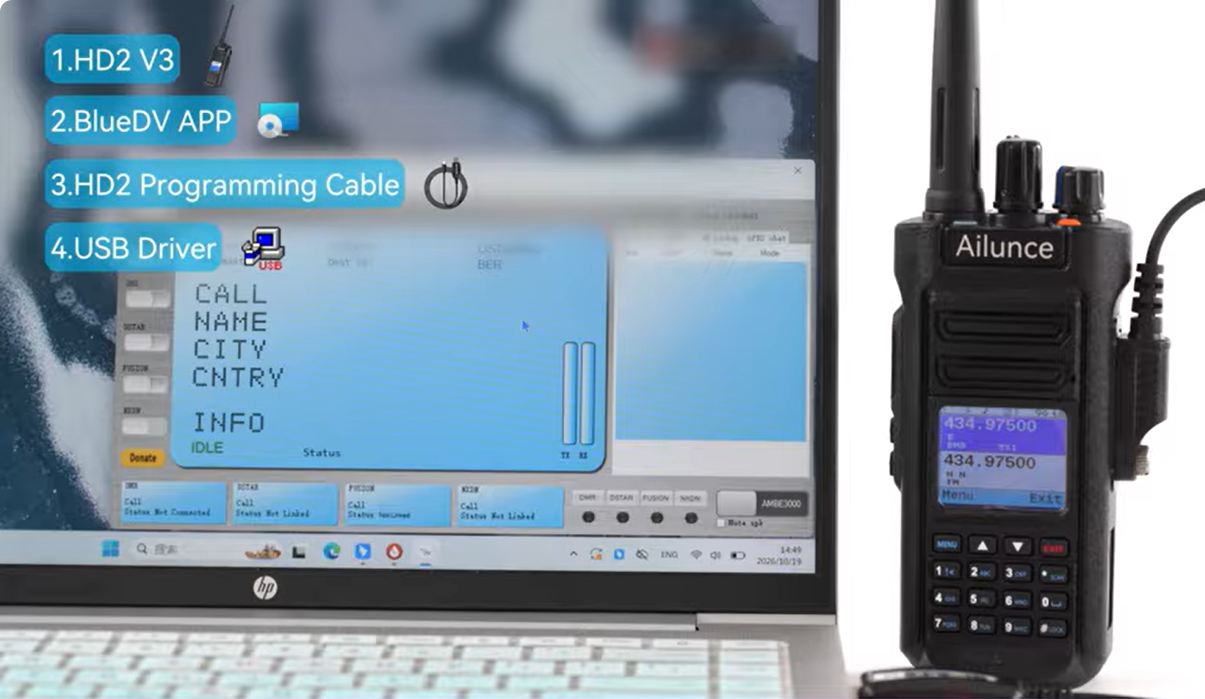
Update the firmware first if your radio is not current. Then install BlueDV and the USB driver. Only connect the radio after the driver is installed, or Windows may fail to recognize it.
Step 2: Configure BlueDV
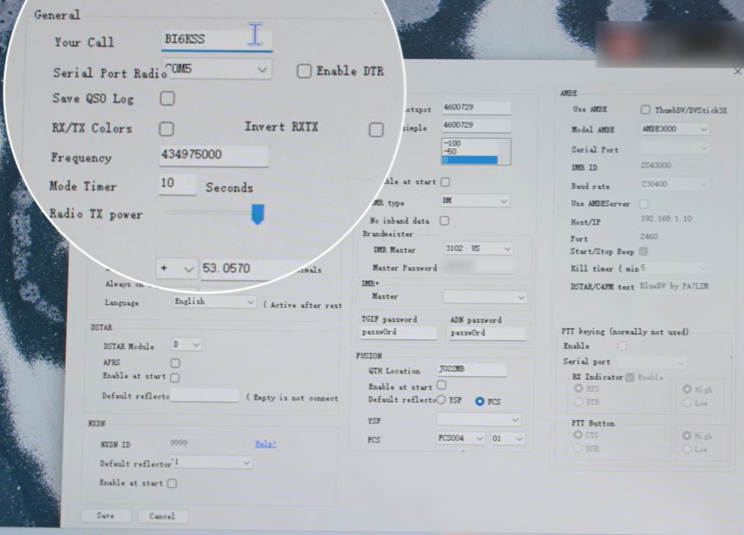
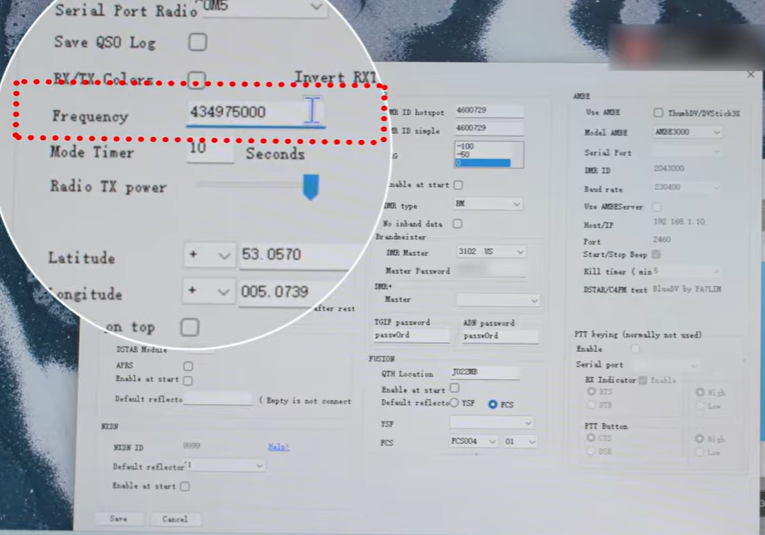
Connect the HD2 to the computer with the programming cable and open BlueDV. Then open Menu → Setup and fill in two sections.
General Settings:
- Your Call: your callsign.
- Serial Port Radio: The COM port assigned to your HD2 by your computer.
- Frequency: your working frequency, 434.075000 MHz in the video. Keep it inside the ham band your license allows.
DMR section:
- DMR ID Simple: your DMR ID.
- DMR Type: BM for BrandMeister.
- DMR Master: the server for your region (3102 US in the video).
- Master Password: your BrandMeister Hotspot Security Password from the SelfCare dashboard. This is separate from your account login password.
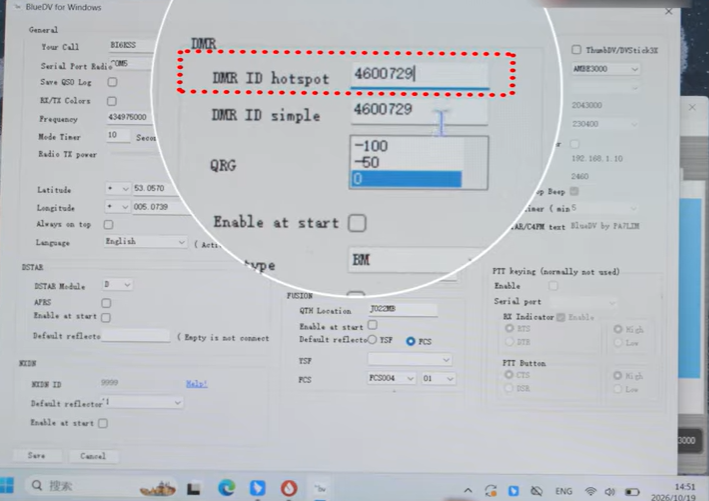
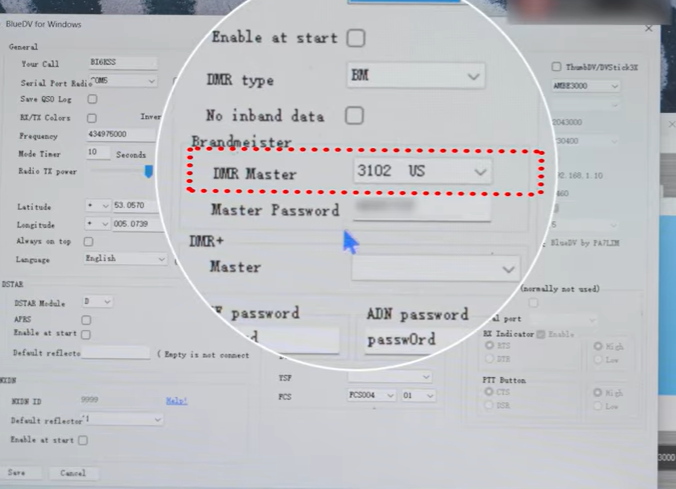
Click Save.
Step 3: Configure the HD2 and Connect
On the radio, switch to a digital channel so the screen shows DMR, and set the same frequency as BlueDV. Select Simplex as the DMR Mode, then choose the transmit contact for that channel.
Then set the mode and open Terminal Mode using these two paths:
- Menu → Band A → DMR Mode → Simplex
- Menu → DV QSO → Terminal Mode
Return to BlueDV and start the serial connection first, then the DMR connection. A successful screen shows the frequency, firmware HD2 V3.1.9, the DMR master, and the destination talkgroup.
If you prefer to watch the full walkthrough, the official video is here: https://www.youtube.com/watch?v=2DNaT8Me4tw
How to Check It Really Worked
Look for three things in BlueDV:
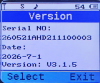
- The firmware reads HD2 V3.1.9. (Note: This version number may change with future firmware updates.)
- The DMR master shows the server you picked.
- The status shows no error.
If the port does not open, recheck the COM number and the USB driver. If the master rejects the password, reset the Hotspot Security Password in SelfCare and try again.
A Few Honest Notes
Transmitting still needs a ham license and a callsign. Keep your signal inside the bands your license allows.
This guide covers the setup only. The actual DMR contact, keying the mic and making a QSO, comes in the next Ailunce video, which covers both Terminal Mode and Hotspot Mode.
You do not need a shelf full of gear to get on DMR. With V3 firmware, one cable, and a free program, the HD2 is already there.