+86 15093323284 hams@ailunce.com
Set up MMDVM DMR Hotspot to work with Ailunce HD1
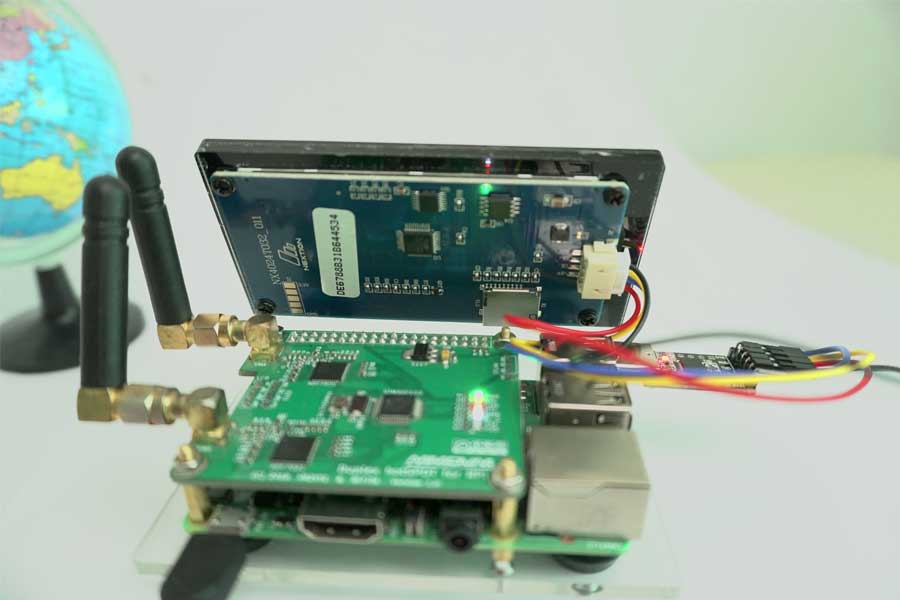
Around 1 year ago, when Fernando Lecaros (CE2DJA) talked MMDVM, Brandmeister with me. That are very new things for me. What is MMDVM, and what is Brandmeister? How do they work? What should I do if I build a digital voice hotspot myself?
What're the parts do we need?
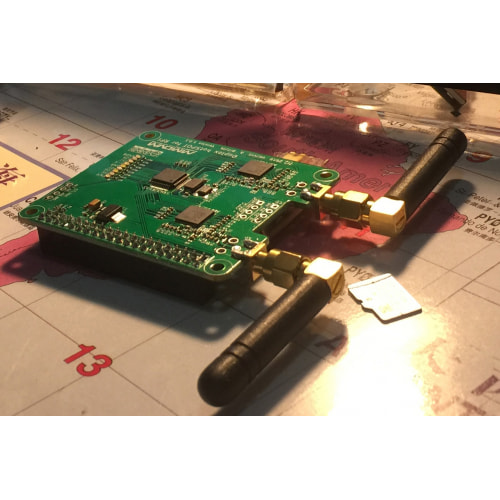
2.Raspberry Pi 3 and SD card.
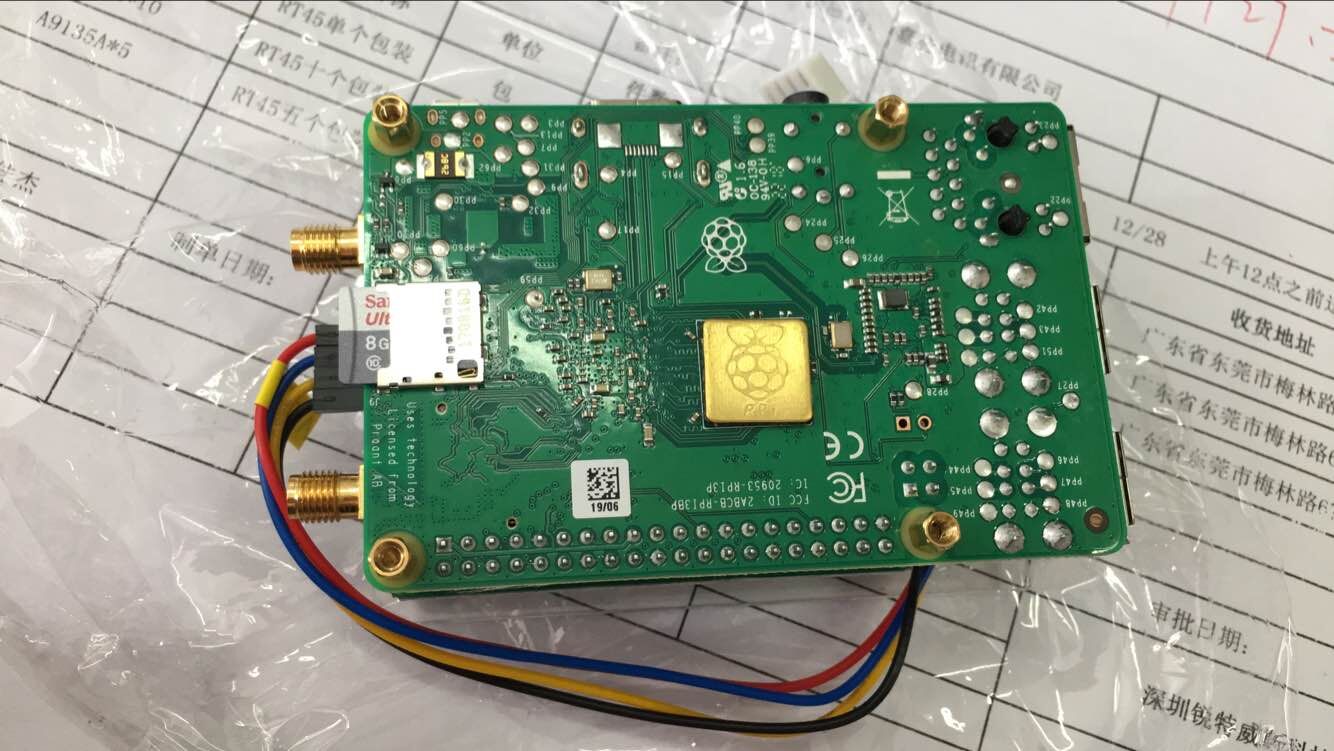
How to build the MMDVM hotspot.
1. Connect the MMDVM board to the Raspberry Pi 3.
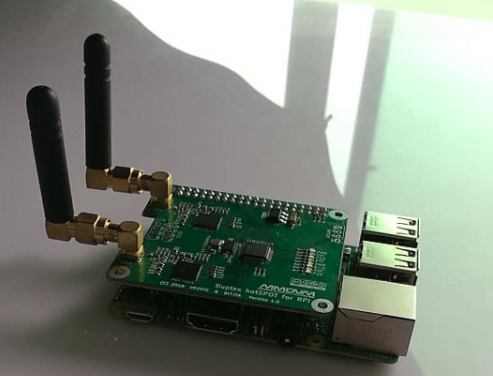
2. After this, we also need to format the SD card for downloading the Pi-star software from https://www.pistar.uk/downloads/.
3. Download Win32 Disk Imager tool which for writing images to USB sticks or SD/DF cards.
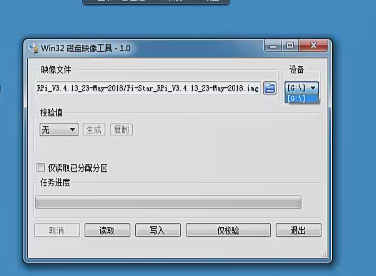
4. After setting up an SD Card with the Pi-Star image, pop the SD card into the Raspberry Pi and then connect an Ethernet cable.
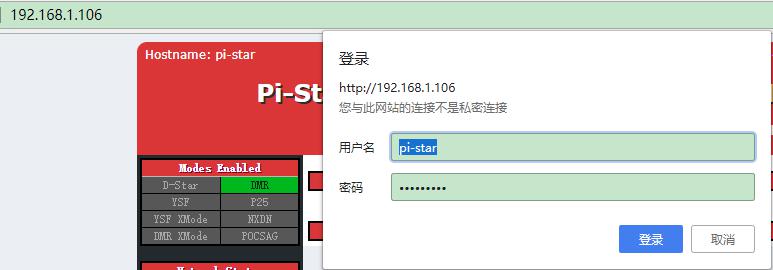
5.Power on the Raspberry Pi. When the green light flashes green, you can access to http://pi-star/admin/ Note: If you can't access to this page, you also can check your MMDVM hotspot IP address from your router.

Now let's begin setting up.
Click Configuration. Login the default username: pi-star, password: raspberry.
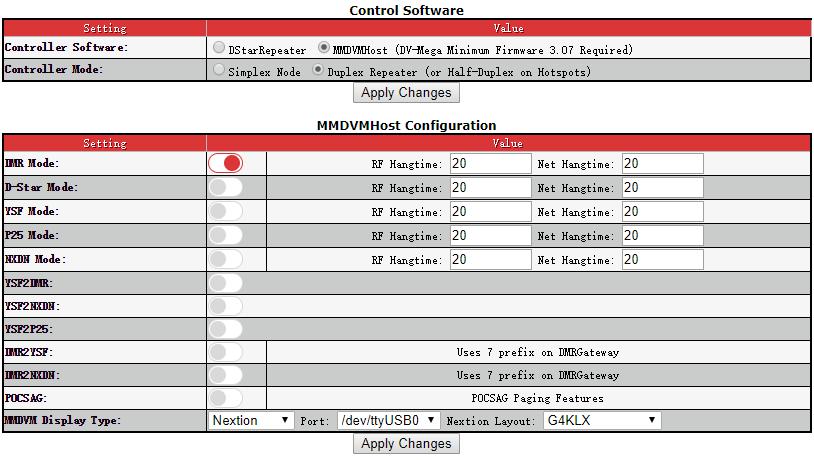
Choose Controller software MMDVMHost.
Choose controller mode depending on your MMDVM board simplex or duplex.
MMDVMHost configuration chooses DMR mode. (I only have DMR radios). RF and Net Hangtime default 20.
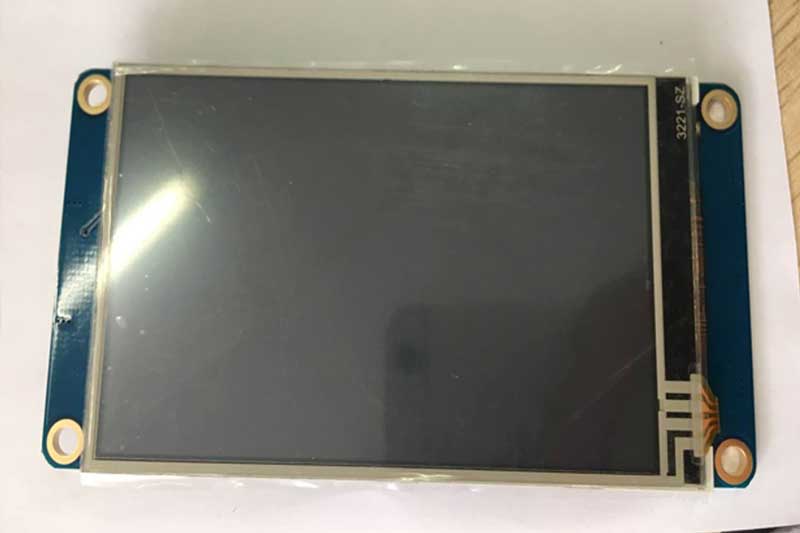
MMDVM Display Type: I think most amateurs should use Nextion screen, I use TTL to USB converter connect my screen to the hotspot.
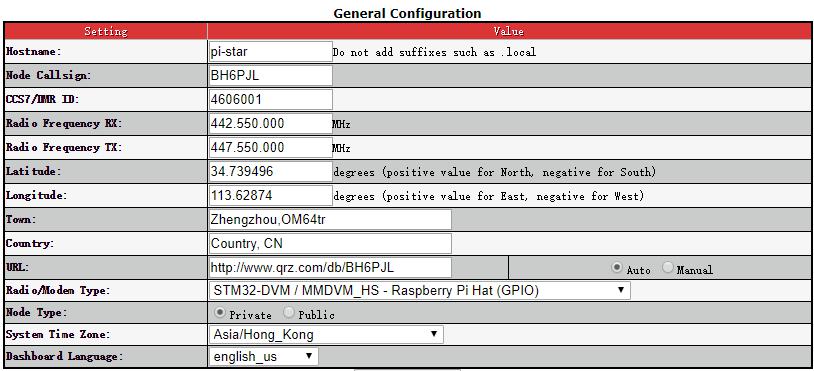
General Configuration is for setting your basic information. Callsign, DMR ID. The frequency you would like to use on your hotspot.
Enter your latitude, longitude, town, country. If you have already registered your callsign on QRZ, you can choose URL auto.
Use the drop-down menu on Radio/Modem Type, and I choose STM32-DVM/MMDVM_HS-Raspberry Pi Hat(GPIO).
Select the system time zone, and dashboard language.
DMR Configuration is for setting up the Brandmeister master. Select the relevant one for your country. I select BM_China_4601. DMR color code 1.

Follow the default Firewall Configuration.
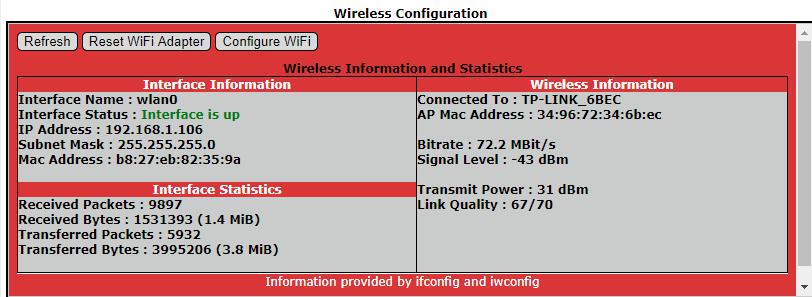
Wireless Configuration.
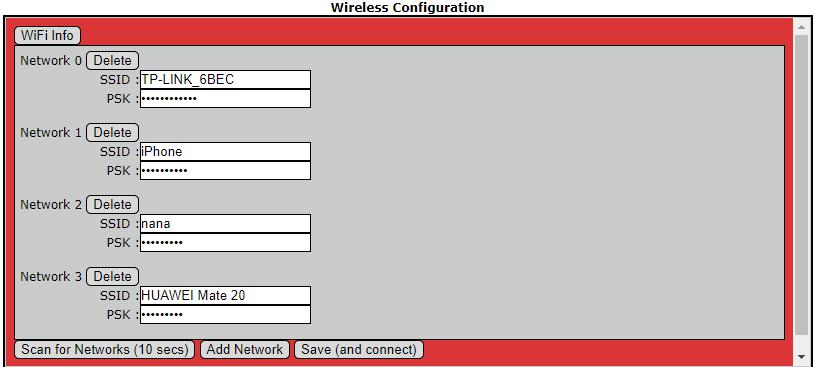
Click configure wifi, and scan the wifi which you can use.
I set 4 wifi, when at home, It will automatically connect the first one. When going outside, it will automatically connect my phone wifi.
Then we will move to Expert>>>>MMDVM host settings.
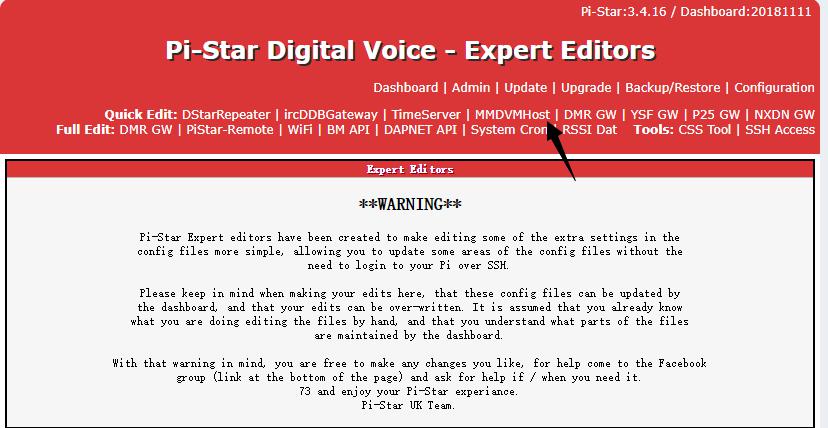
Scroll down until you reach Modem. We should now set the Offset. For my MMDVM duplex hotspot board, set offset -300 will get a low BER. It is better to change the DMRTXLevel=55 or 60 when using Ailunce HD1.
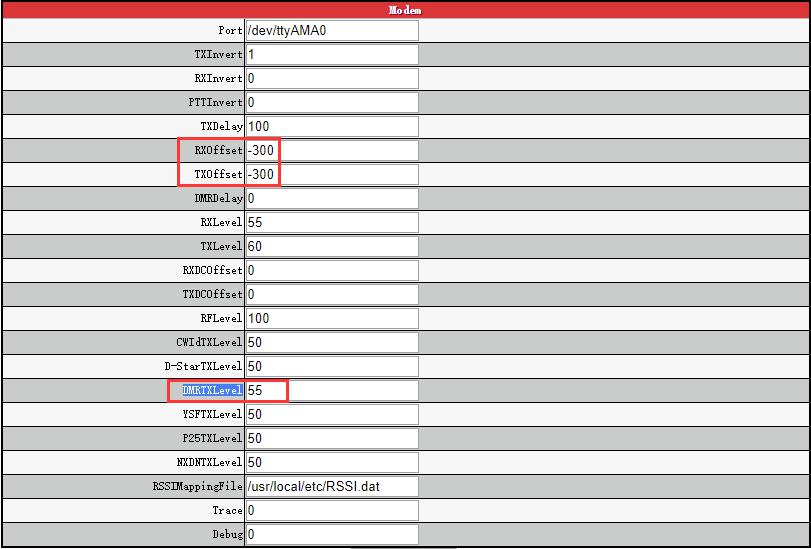
All the pi-star settings done.
Next we begin to radio software setting, take Ailunce HD1 as example.
1. ID Setting.
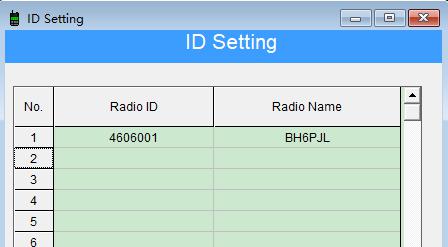
2. Create priority contacts. For testing if the MMDVM hotspot works well, it is better to create a private Echo test, 9990.

3. Create a digital channel. Set the reverse frequency with my Duplex hotspot.
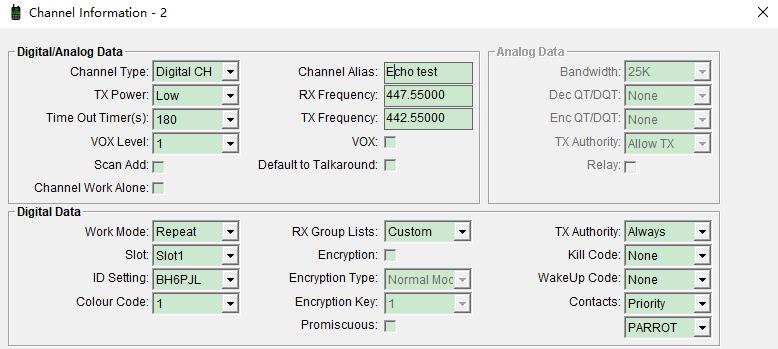
Echo Test.
Press the radio PTT, at the bottom of your pi-star dashboard. You can see your Local RF Activity. You can check the back echo on Gateway activity.
If you get the echo back to your radio, that means you connect to the Brandmeister sucessfully. then you can begin your QSO to others.


