+86 15093323284 hams@ailunce.com


Update Nextion Display for Pi-Star MMDVM DMR Hotspot

Few days ago, I received a customer problem, how do I install the Nextion Driver on his Pi-Star MMDVM Hotspot? Today I will share my experience how to update the Nextion Display.
What you need to do ?
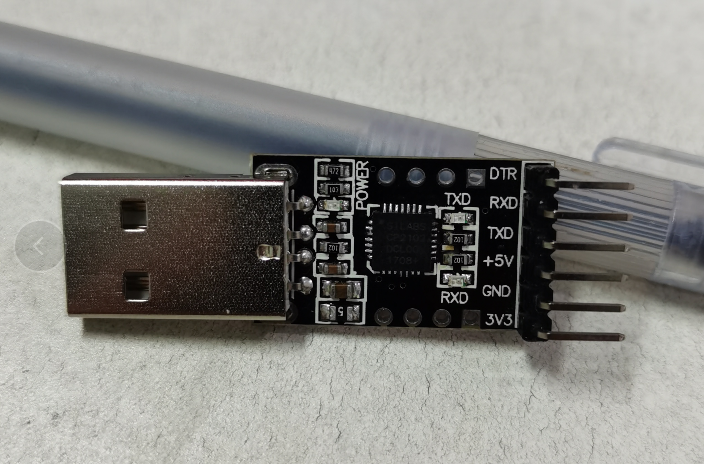
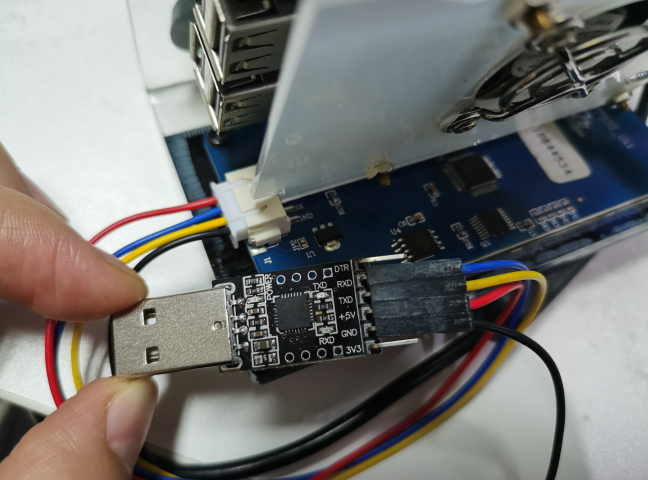
1. You need to get a USB to TTL Converter to connect the Nextion Screen to your computer.
2. Get an Nextion Screen.
3. Nextion firmware programming.
Two methods: a. find a empty TF card, format the TF card to FAT32, and then program Nextion tft file into it. I cant find a empty TF card today, so I will use the second method.
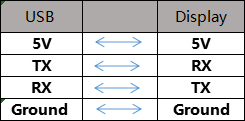
b. Use the USB to TTL converter connect the Nextion Screen to PC computer. Here need to make sure the correct connection. for duplex MMDVM Hotspot, the RX and TX need to convert.
4. Download Nextion Editor from nextion.tech website.

4. Download MMDVM Nextion display HDMI. Here I use PD0DIB Rob van Rheenen's Nextion_HAM-radio-screens. https://github.com/PD0DIB
My Nextion screen is 3.2 inch. According to my nextion serial number, I downloadedNX4024T032-NE_Model8 3.2inch-DPLX-Basic.HMI
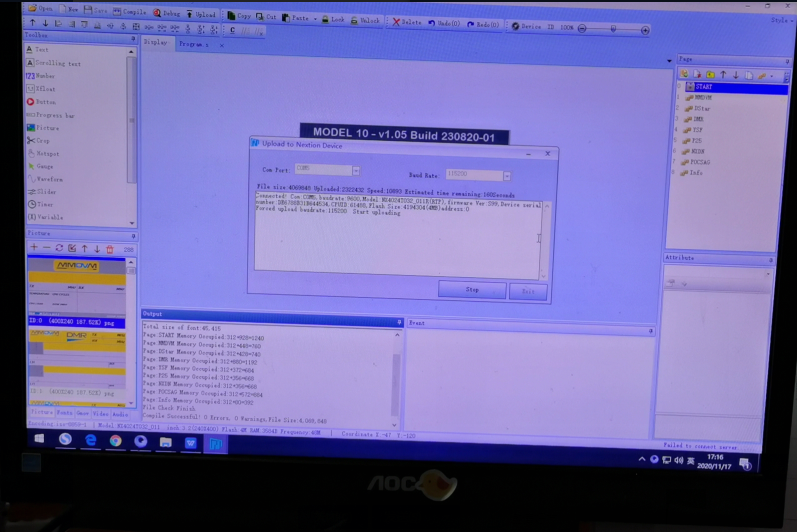
5. Open the Nextion Editor. Open the HMI, and then upload it to your Nextion Screen.

When updating, I cant choose a com port. So I installed a CP2102 USB to UART Bridge Controller Driver.

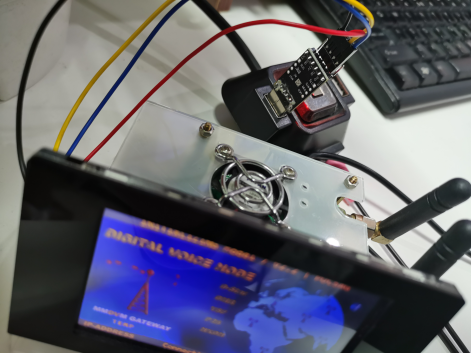
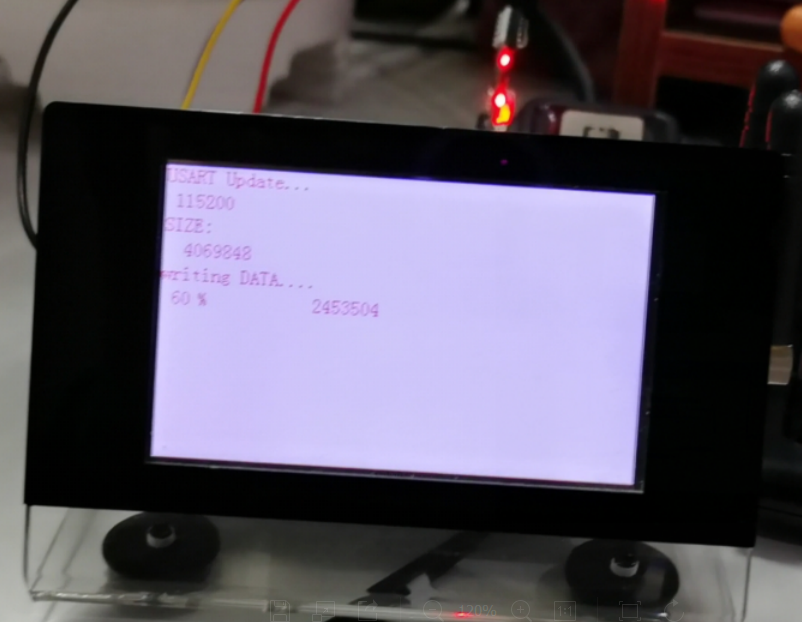
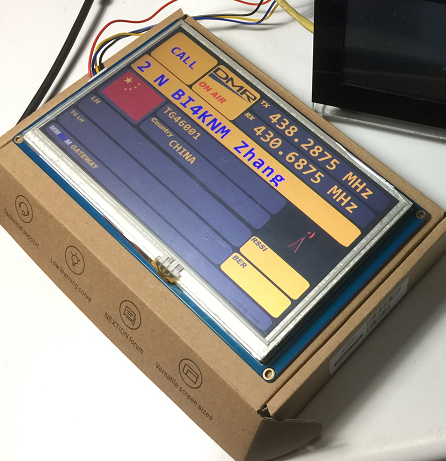
6. After sucessfully install the HMI file into Nextion Screen. It will display like below picture.

7. Then go to the pi-star configruation page to set the MMDVM Display Type.
Other confrigurations you can refer to this blog: https://www.ailunce.com/blog/Assemble-MMDVM-Raspberry-Pi-DMR-HotSpot

8. Finished all steps.

Please email to info@ailunce.com if you have any questions.